

Just a quick heads up—some of the links in this post are affiliate links. That means if you click through and make a purchase, I may earn a small commission (at no extra cost to you 🙌).
I only share products and services I truly believe are helpful and worth your time. Your support through these links helps keep this site running, and I’m so grateful for it! 💛
Ever toss those leftover bits from your meals into the bin without a second thought? Well, hold on to that potato peel or green onion stem – they might just be the key to vibrant, homegrown herbs and veggies! That’s right, regrowing table scraps is a real thing, and it’s a fantastic way to save money, reduce waste, and enjoy delicious, fresh produce right from your own kitchen.
Benefits of Regrowing Table Scraps
Let’s talk about the awesome benefits of regrowing table scraps – you won’t regret giving it a try!
- Save money: Growing your own herbs and vegetables can significantly reduce your grocery bill.
- Reduce food waste: Instead of throwing away scraps, you can give them a second life and minimize your environmental impact.
- Enjoy fresh produce: Homegrown herbs and vegetables are often more flavorful and nutritious than store-bought ones.
- Fun and educational activity: Regrowing table scraps is a fun and rewarding activity for people of all ages, especially children.
- Reduce reliance on industrial agriculture: By growing your own food, you can be more independent and self-sufficient.
What can you regrow?
A surprising variety of table scraps can be regrown, including:
- Herbs: Green onions, cilantro, basil, mint, rosemary, lemongrass, and thyme
- Vegetables: Lettuce, romaine, celery, bok choy, cabbage, carrots, and potatoes
- Fruits: Pineapples, avocados, and lemons
How to Turn Kitchen Scraps into a Thriving Indoor Garden
Regrowing Green Onions
- Prep the roots: Save the root end of your green onions, about 1-2 inches from the white bulb. Rinse them gently to remove any dirt.
- Choose your vessel: You can use a glass jar, a small pot, or even a recycled yogurt container. Fill it with clean water, ensuring the roots are submerged.
- Find the perfect spot: Place your container in a sunny windowsill where the green onions will receive plenty of light.
- Be patient and observe: Within a few days, you’ll see new green shoots emerge from the top. Change the water every few days to keep it fresh.
- Harvest and enjoy! Once the green onions reach about 6 inches tall, you can start harvesting them. Simply snip off what you need, leaving an inch or two of growth on the plant. The best part? The green onions will continue to regrow, providing you with a steady supply of fresh flavor for months to come.
Pro tip: You can also regrow green onions in soil. Simply plant the root end in a small pot filled with well-draining potting mix and keep it moist. The process is slightly slower, but the results are just as rewarding.
Regrowing Herbs
- Choose your scraps: Select healthy stems with several leaves, like basil, mint, cilantro, or rosemary. Avoid wilted or slimy pieces.
- Prepare your container: Clean a glass or jar and fill it with fresh water. Alternatively, you can use a pot with well-draining soil.
- Place the cuttings: Gently remove the lower leaves from the stems and immerse the bottom inch or two in water or soil.
- Find a sunny spot: Place your container near a window where it receives at least 6 hours of sunlight daily.
- Keep it moist: Change the water every few days or mist the soil regularly to maintain moisture.
- Be patient: Depending on the herb, you may see roots within a week or two. Allow them to develop further before harvesting.
- Enjoy your bounty: Once the roots are established, you can start snipping leaves for your culinary creations. Remember to leave enough foliage for the plant to continue growing.
With a little care and attention, you can enjoy fresh, homegrown herbs throughout the year.
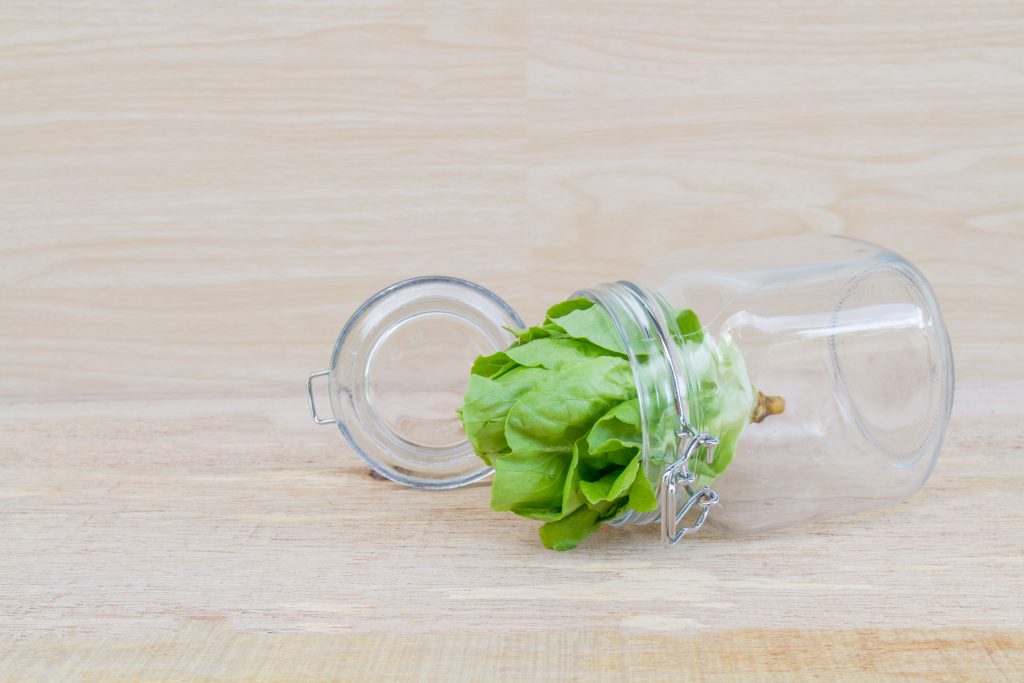
Regrowing Lettuce and Cabbage
- Prep the core: Cut off the bottom of your lettuce or cabbage, leaving about an inch of stem attached. If you’re regrowing cabbage, make sure to leave some outer leaves intact.
- Submerge or suspend: Place the core in a shallow dish or bowl filled with clean water. The water should cover the bottom of the stem but not the leaves. Alternatively, you can suspend the core just above the waterline using toothpicks or a wire rack.
- Find a sunny spot: Place your container in a sunny windowsill or another well-lit location. Aim for at least 6 hours of sunlight per day.
- Patience is key: It can take a few weeks to see new growth. Be patient and keep the water level consistent.
- Harvest and enjoy! Once new leaves emerge, you can start harvesting them as needed. Simply cut off the leaves you want to use, and the core will continue to grow.
Regrowing Carrots
Carrots are surprisingly easy to regrow, and all you need is the top part of the carrot with about 1-2 inches of the green stem.
Simply place the carrot top in a shallow container of water, and position it in a sunny window. Within a few days, you should see new leaves start to sprout. Once the leaves are a few inches tall, you can transplant the carrot top into a pot of soil and continue to grow it as you would any other carrot plant.
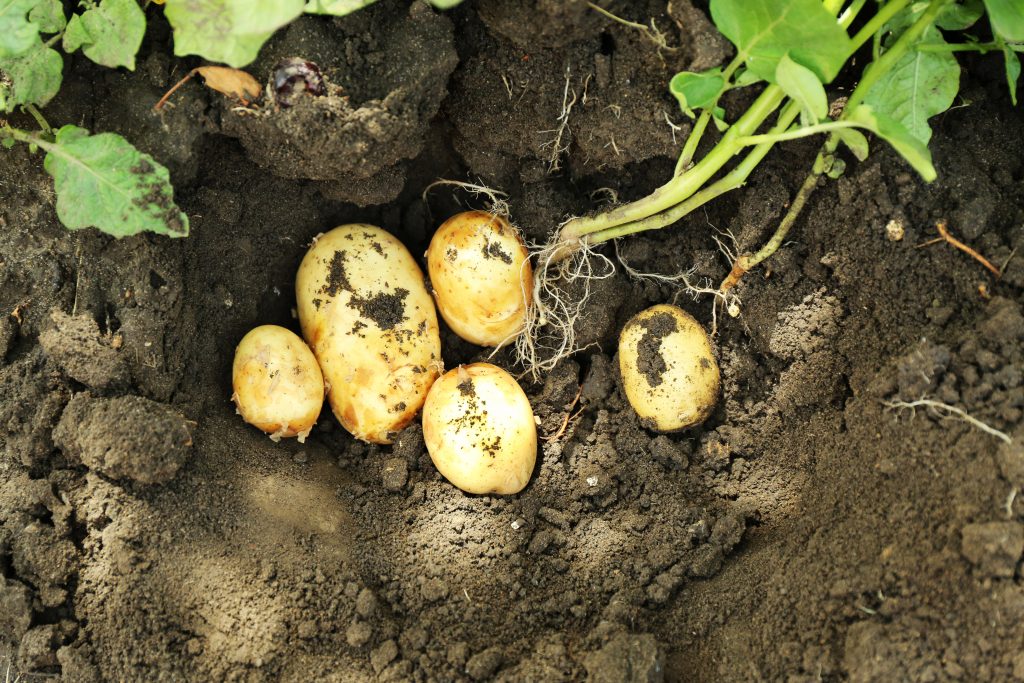
Regrowing Potatoes
- Choose your potato: Select a healthy potato with “eyes” (small buds) on its surface. These eyes will eventually sprout into new plants.
- Prepare your container: Choose a container with drainage holes, like a pot or a repurposed plastic container. Fill it with well-draining potting mix.
- Plant the potato: Cut the potato into pieces, ensuring each piece has at least two eyes. Place the potato pieces in the pot, eye-side up, and cover them with about 2 inches of soil.
- Water and sunlight: Water the soil regularly, keeping it moist but not soggy. Place the pot in a sunny location, ideally receiving at least 6 hours of sunlight per day.
- Be patient: It takes about 4-6 weeks for the potato eyes to sprout and grow into plants. Once the plants reach about 6 inches tall, you can start hilling them up. This means gently pulling soil around the base of the plants to encourage further growth and tuber production.
- Harvest: After about 10-12 weeks, your potatoes will be ready to harvest! Carefully dig up the plants and gently remove the potatoes from the soil.
Tips For Success
Here are some additional tips to help you succeed with regrowing table scraps:
- Use clean containers and utensils to prevent the growth of mold and bacteria.
- Change the water regularly, especially if it becomes cloudy or discolored.
- Harvest your herbs and vegetables regularly to encourage further growth.
- Don’t be afraid to experiment! Try different types of scraps and see what works best for you.
Regrowing table scraps is a simple, sustainable, and rewarding practice that anyone can enjoy. With a little patience and care, you can transform those discarded scraps into fresh, delicious food, saving money and reducing your environmental impact at the same time.
So why not give it a try? You might be surprised at how easy and rewarding it can be.
Happy regrowing!